Hello DIY friends!
I have to be honest…I’m totally a wannabe DIY-er. I have many dreams and plans for projects, but SO much to learn. I have learned to be prepared for some DIY fails. Which brings me to this project…
Once upon a time, I started the day planning to (finally) German smear my gigantic, late 1980’s, master bedroom brick fireplace. I had high hopes and dreams for that fireplace. Literally two minutes into the project…I realized that technique was totally out of my skill set – there was no way I could complete it as planned. I wanted to cry.
In this moment, I learned two things:
- It’s totally okay to pivot and change your plan (even if you have been planning a certain DIY project for months).
- Mortar is freaking heavy. Like, really heavy.
So, after a quick search of assorted blogs and YouTube videos, I was ready to make trip #783 to Home Depot. My new project path: whitewashing my fireplace. Check out this lovely before:
It’s huge. The mortar lines are deep, gray, and dingy-looking. It dominates the room, and it has sadly been neglected in the decor realm since we moved in 4 summers ago. It was time to do something about it, and I had finally gathered enough DIY bravery to take on the project.
**Be sure to scroll down to see the after picture and my How-To video.**
Supplies needed to whitewash a brick fireplace:


Behr Ultra Pure White Paint in Eggshell THE BEST cloth-like rags – a DIY must.
Also needed:
-good quality painter’s tape
-a small bucket to hold your whitewash mix
-disposable gloves
-1 gallon slider plastic bags
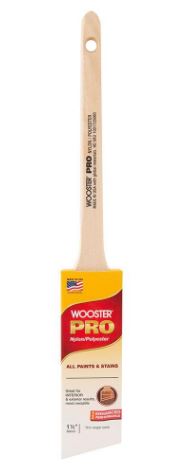
I have always found Behr paint to perform well at a slightly less expensive price compared to other name brands. I also love these Intex cloth-like rags – they are so useful to have on hand for all kinds of projects and are super durable compared to paper towels. Last but not least, everyone should have a 1.5 inch angled good quality paintbrush lying around – so versatile and useful!
*Tip: when choosing your own white paint, make sure you consider undertones. I knew I wanted a neutral white (no pink, blue, or yellow undertones). After researching online, Behr Ultra White in eggshell was the one I chose and I am happy with the final result!
Step 1:
(After you have gotten over being completely humbled by your attempt to German smear.)
Begin by cleaning the surface of the brick. I did this by first vacuuming every single line of mortar and then wiping down the brick with a damp, lint-free cloth.
Step 2:
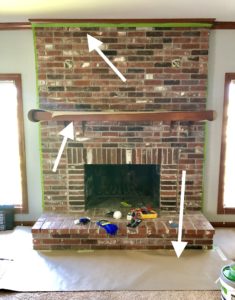
Protect any wood trim/mantle and flooring by taping off with painter’s tape and covering with a drop cloth, or plastic. I purchased a roll of brown builder’s paper because I wanted to be able to recycle most of it when I was finished.
Step 3:
Prepare your whitewash mixture. I used the recommended 1:1 ratio, which in my case, amounted to about 2 cups of white paint thinned with 2 cups of water. I literally mixed mine in plastic solo cups – total DIY pro move.
*Tip: keep a painter’s stick on hand to stir your paint mixture frequently so that the coverage stays uniform.
#lifehack: use a zip-closure plastic bag to line your paint bucket. When you need to take a break to drive your kids to 50 different places…you can push out the air, zip it up, and the paint will be ready when you come back! This tip also makes your clean-up super simple.
Step 4:
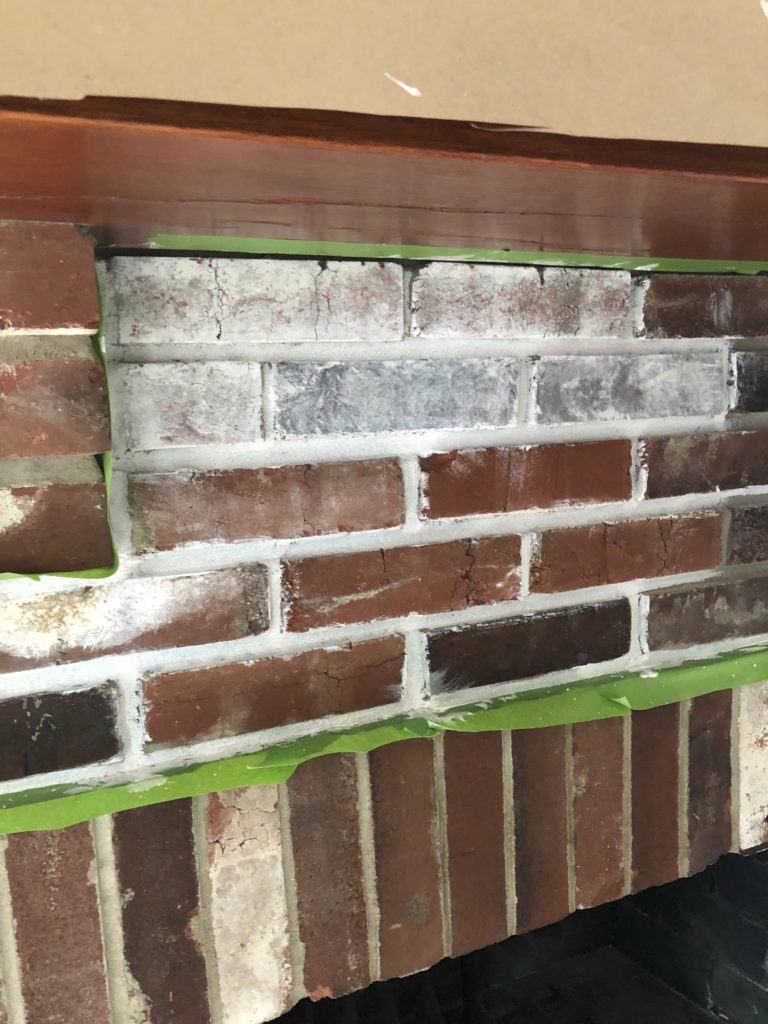
You are ready to start whitewashing! Working in sections of about 2-3 bricks, use your 1.5 inch angled brush to paint the horizontal mortar lines first – making sure to get the bottom and top of the bricks surrounding, followed by the vertical mortar lines.
Once you have the lines painted for the 2-3 brick section, quickly paint the face of the brick. Next, use your cloth/rag to go back over the brick and dab or wipe the excess paint off the brick. Dabbing the brick will result in a more mottled look, while wiping it may leave behind lines. Play around on the first couple of bricks to see what you prefer.
*Tip: start on an area of the brick that is less visible in the room so you can work out any kinks in your learning curve. I started on the short side that cannot be seen when you come into the room.
In general, this technique is ULTRA FORGIVING!!!! If the paint drips, just wipe it off – you will cover most drips when you paint the brick. You can always go back over the brick with another coat of paint if you don’t like the finish, or if you want a heavier coat. The brick in my house absorbed the paint at different levels from brick to brick giving a varied look which I ended up loving. Since the mortar of my brick was so gray, I did go back over all the mortar lines with a second coat of whitewash to lighten them up.
Repeat the technique until your brick is amazingly updated!
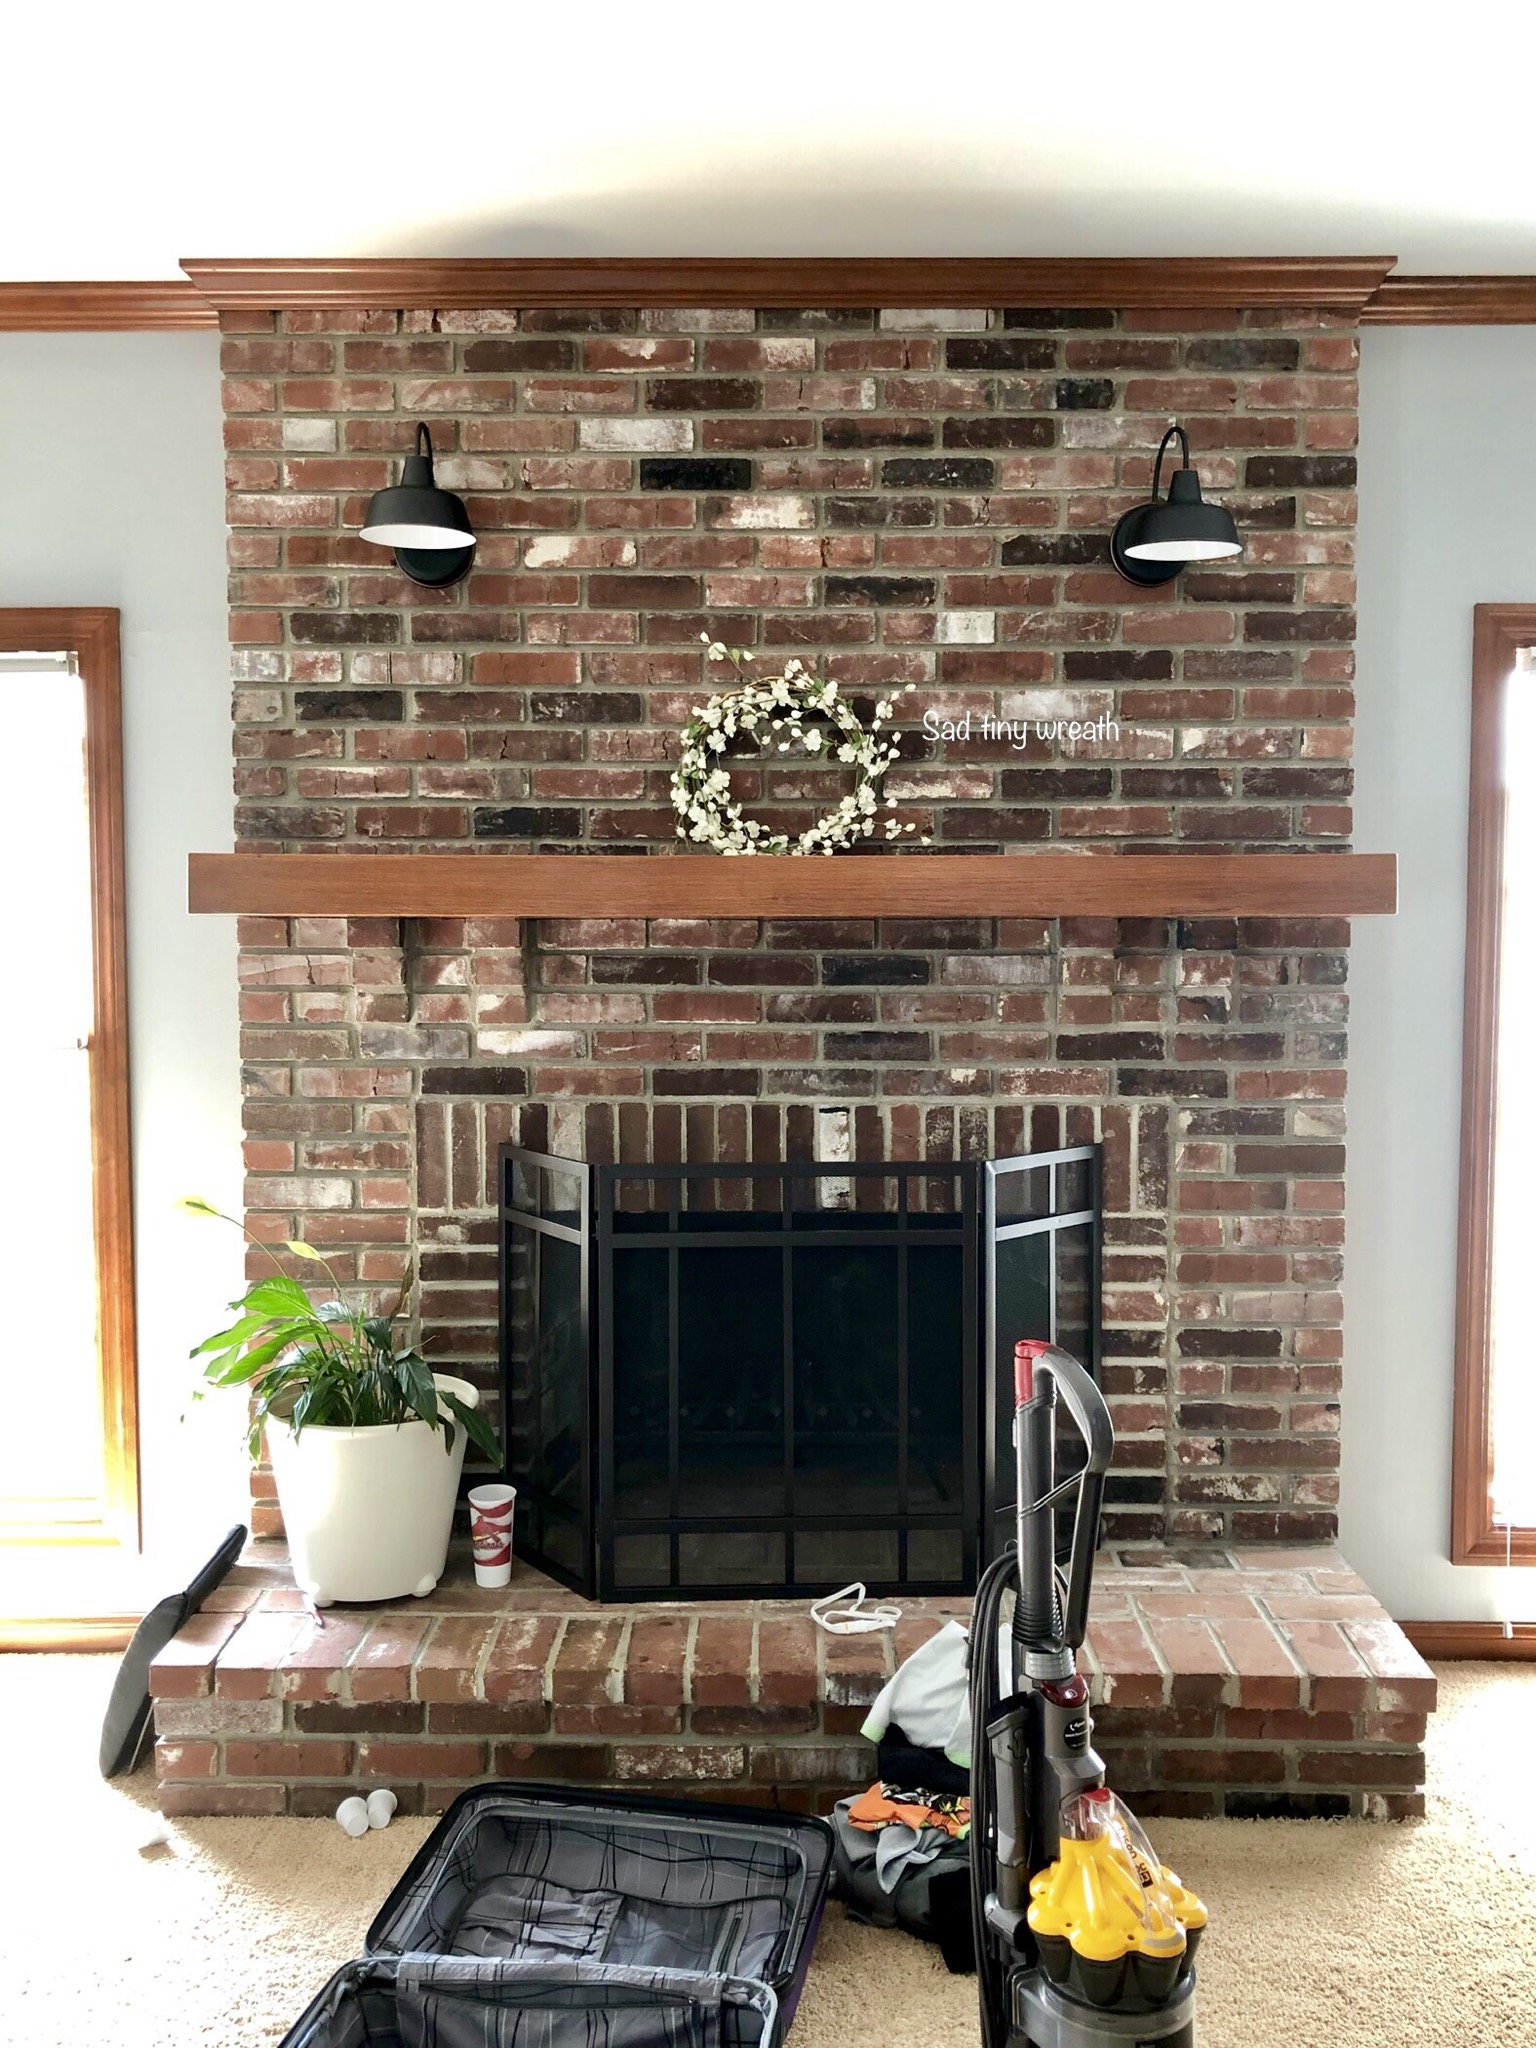
Here is my fireplace after!!!
It’s so beautiful! If you’ve been thinking about whitewashing brick in your home, all I can say is: DO IT! It gives such a fresh update, and is really easy! If I can do it, you can do it!
So, what do you think? Are you ready to give it a try yourself? Tell me about your project in the comments below!
Thanks for stopping by – hope you learned something new!
-best,
Amy


Leave a Reply